Where to place a trail camera?
Tips for Using Trail Cameras
The advent of trail camera technology has forever changed the way that we hunt, giving us valuable information on animal activity, routines, and patterns without us having to physically be there and limiting our disruption to their natural environment. Let’s take a look at some tips and tricks when employing trail cameras so you can get the most out of them.
Camera Placement
If you are questioning exactly where to place your trail cameras when scouting new property or you are just unfamiliar with the area or animal movement, a good way to help you determine where is to go on Google maps.
Google maps will help you identify key features like natural funnels and choke points, water sources, food sources, and in some cases even heavily used game trails. These areas discover on satellite imaging can help you narrow down key areas for trail camera placement if you don’t already have some in mind.
Trail Camera Setup
There are a few tips that you can use to ensure that your camera will be properly placed and setup to provide the best photos and also capture passing game.
Avoiding Natural Obstructions
Branches and small saplings or bushes covered in leaves will not only obstruct your view of passing game, it will also set your camera off anything there is any wind, triggering the motion sensor and leaving you will dozens if not hundreds of pictures that have zero game in them.
Be sure to bring a limb saw with you when setting trail cameras in the even that you find that perfect spot for placing one and need to remove any obstacles.
Testing your Camera
Before you leave your house to head for the woods, be sure you check and test everything in regards to your camera, that way you won’t get to the woods only to find out your camera won’t function due to something you forgot about.
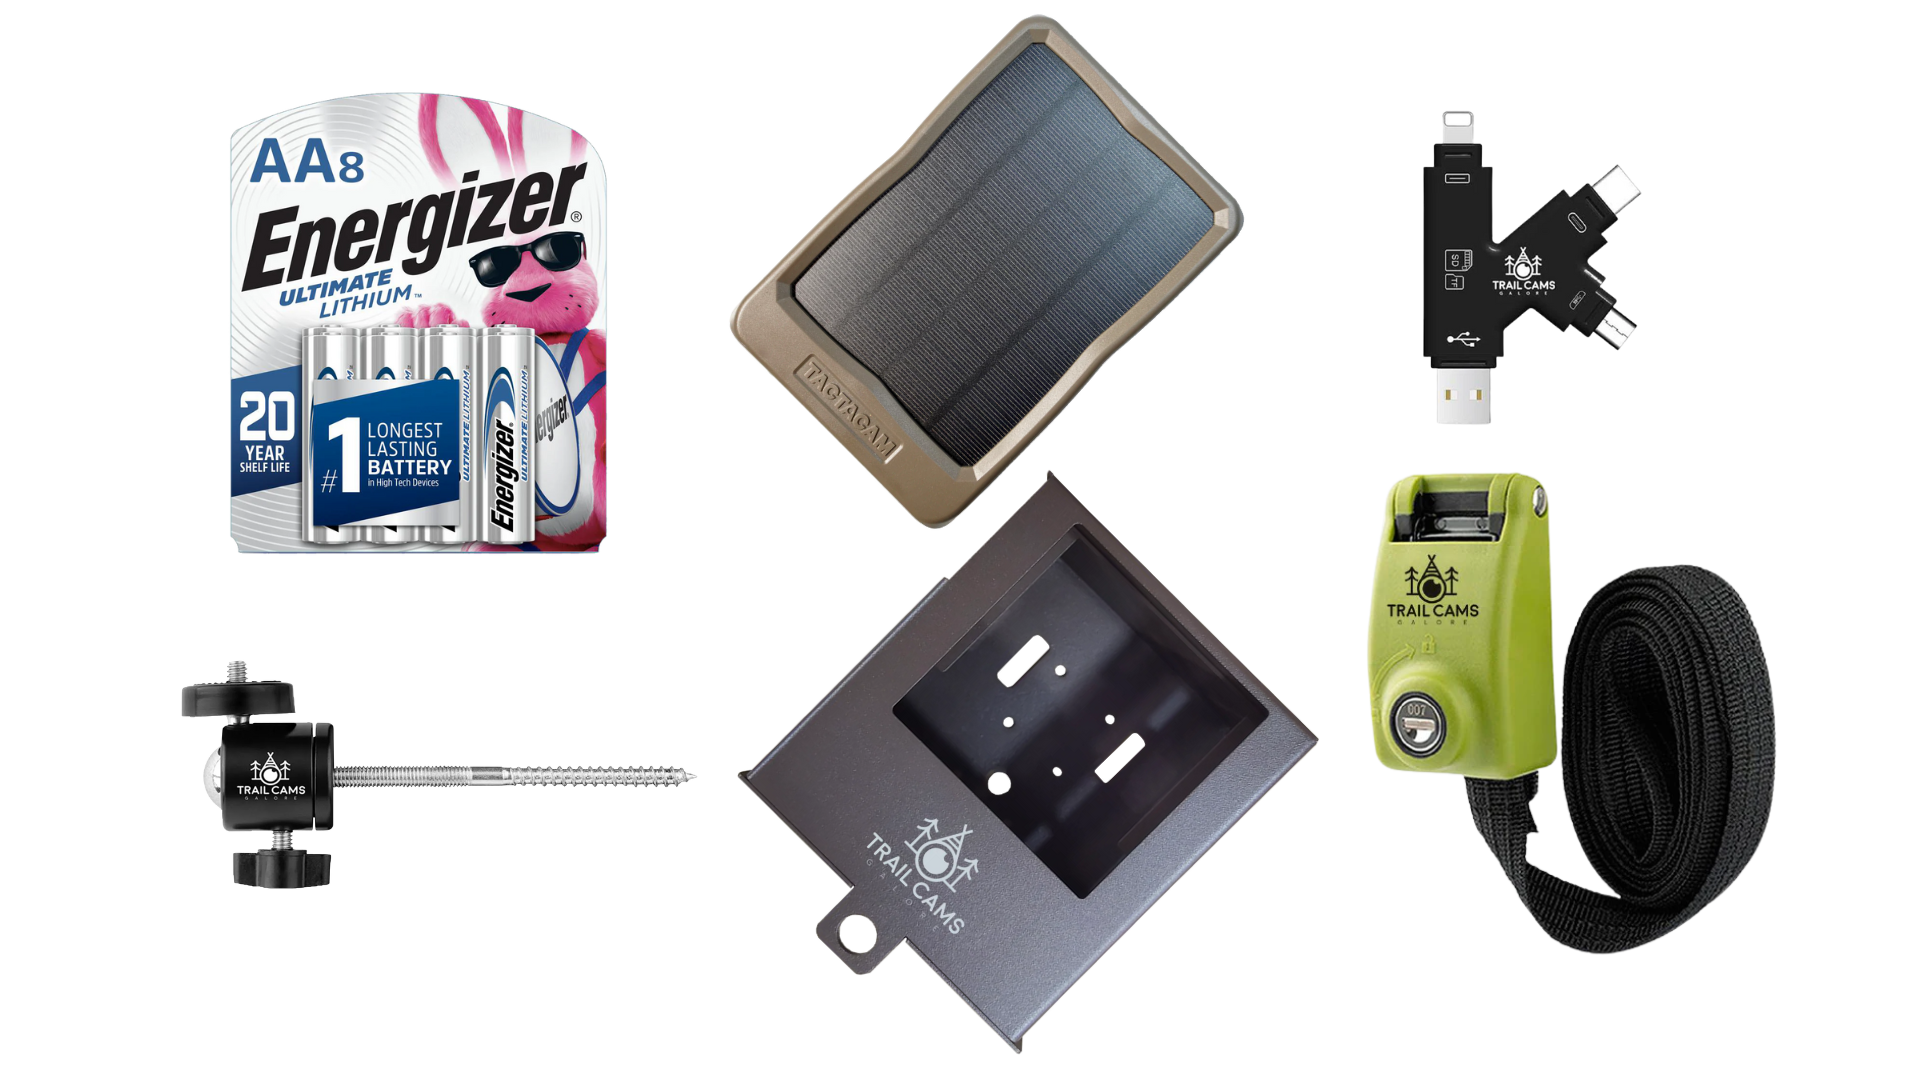
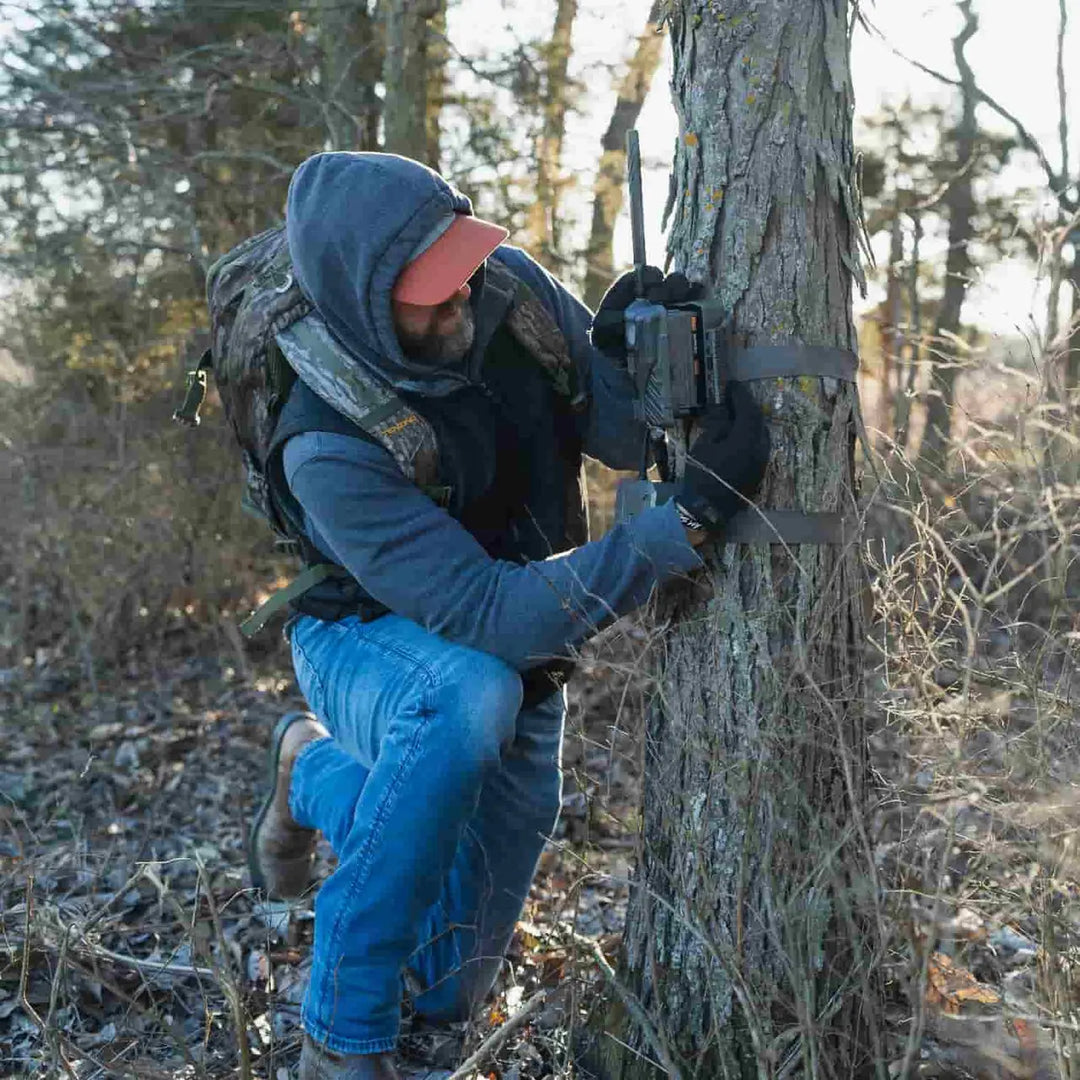
Setup the camera in your yard and take some test shots by walking in front of the camera, makes sure you batteries are new or at least fresh enough to last a long time in the field, make sure your SD cards have memory available or are formatted and functioning correctly, and don’t forget to bring fasteners to attach it to the tree, like ratchet straps or bungee cords.
Check Camera Angle
When you get your trail cameras set in the field it’s important to make sure your angles are correct. Take some more test shots on yourself at varying distances to ensure everything is in frame, this will stop you from getting shots of only the deer's legs or the tips of their antlers.
Avoid the Sun
We all know the sun rises in the east and sets in the west. If your camera is facing east or west it can over expose your camera while taking pictures, leaving you seeing a big bright blurry picture and not much in terms of detail.
This consideration all depends on the surrounding area, if your in an area with dense coverage like a bedding area or standard hardwoods, you will likely be fine, but on open areas and field edges this can become an issue.
Conclusion
Following these tips will help you get the best shots of the game that passes in front of your camera, and also help you ensure that your covering the proper areas to capture the game in the first place.


