How to Set Up a Trail Camera
Setting up trail cameras for whitetail deer or other game is not difficult. Whether you are hanging one trail camera or 10, both orientation and height have to be just right. As a hunter, we’re used to seeing everything at our own eye level, but that’s not where we want our trail camera pictures taken.
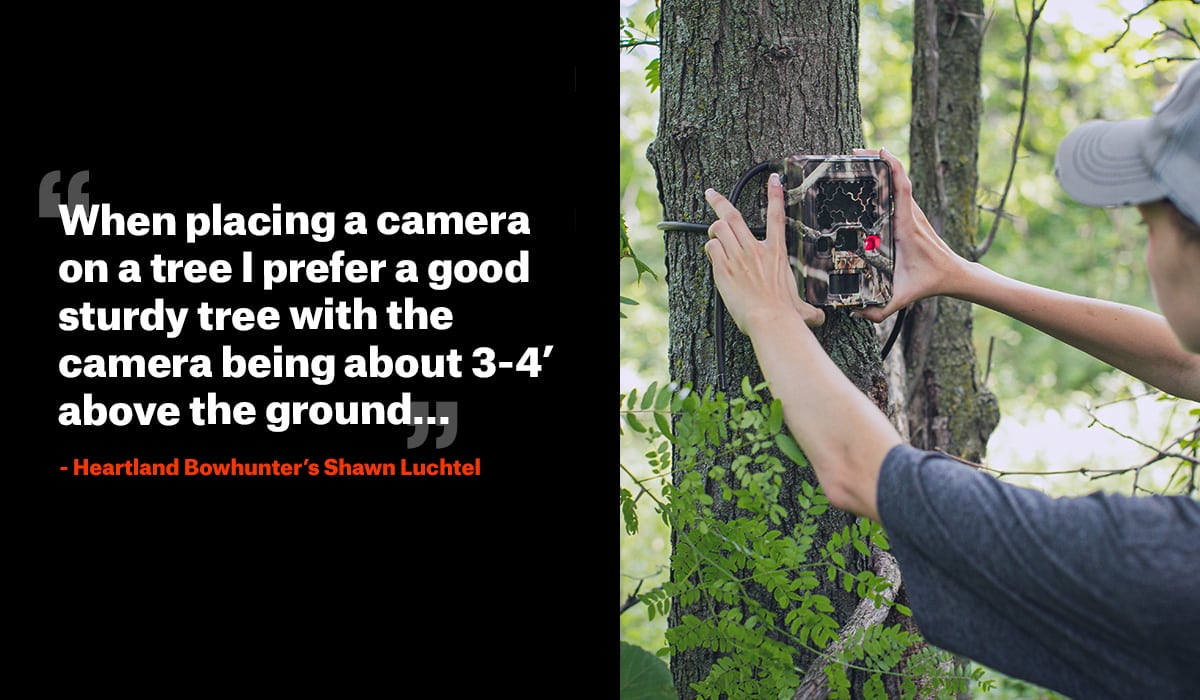
“When placing a camera on a tree I prefer a good sturdy tree with the camera being about 3-4’ above the ground. I want the camera to be eye level with the deer when taking photos. I make sure all debris is cleared to avoid any false triggers. If a camera has the video option I almost always prefer it as I get a better idea of a deer’s travel patterns.”-Heartland Bowhunter’s Shawn Luchtel
As Shawn Luchtel suggests, setting up a trail camera three to four feet off the ground works best. However, at this height there is a risk of making it accessible to would-be thieves. If you’re not hanging the trail camera on high-traffic, publicly accessible trails, you might be safe locking it to a tree at this height, but the best alternative is to use a climbing stick to hang your trail camera 10 feet off the ground and angle it down toward the game trail or food plot.