CELL CAMERAS AND SHED HUNTING – CAN THEY LEAD TO MORE SHEDS?
Every hunter experiences different attitudes induced by the end of deer season and the beginning of a new year. For some, it’s a much needed break from running the gauntlet of data, scouting, and cold exhausting hunts, a time to slow down, take care of gear, and spend time with family. Others that may have just hunted the rut and late season during firearm seasons are likely still looking for more action. The good news is that the beginning of the offseason gives all hunters the perfect opportunity to get back into the woods after fresh intel and sheds! What better way to achieve info on surviving bucks, deer herd numbers, and even information on finding sheds than with cell cameras? These cell camera shed hunting tips should help you place some insurances on finding your target buck(s) sheds!
WHAT A CELL CAMERA CAN ACHIEVE IN THE LATE SEASON
It seems that most cameras in the deer woods are recovered and revitalized around Christmas or early January. In general, all cameras seem to vanish from the woods in the last few days during and after deer season. It is the time to download camera images, change batteries, take inventory of any potential losses, and plan for the next season. However, the cell cameras your hunts once hinged on in November and December can be just as valuable during January and February. Cell cameras can help you achieve three crucial goals during this timeframe:
Light Pressure – Late Food Honey Holes
The scouting you do for a great camera spot for late season intel and sheds will likely lead to a very useful conclusion centered on deer sign. Fresh deer sign this late into the season usually reveals the last few remaining sanctuaries after the gauntlet of hunting pressure on a property or piece of public land. Either way, next year you now have late season intel to use to potentially get a buck in the last few days of the season. And with a cell camera, the confirmation of whether the deer sign is a shooter or target buck will hopefully be revealed in a few days once the camera is up and running.
Late Season Inventory of Surviving Bucks
If you are able to put cameras over bait, you may have a better chance at acquiring the crucial intel of which bucks have survived the season…arguably leading to a more exciting and likely fruitful shed season. If baiting is not legal in your state, even in the offseason, a well-placed camera over a food source or travel route can still get this info.
Finding Sheds
This is an obvious one and why you are here, so let’s dive into how to find more sheds with cameras!
USING CELL CAMERAS TO FIND SHEDS
While there are surely plenty of instances where sheds have dropped right in front of trail cameras, these tips won’t automatically drop antlers in front of cameras…but they may get you closer to your
goal! Speaking of that, it’s best to speak about one of these that most definitely is not recommended and in fact can kill deer…antler traps.
DON’T USE SHED ANTLER TRAPS!
Shed antler traps can kill deer. The very name of them is misleading…it’s not shed antlers that you are trapping, its antlers still attached to the deer. This can cause unnatural separation taking more than just the antler off the deer. It often removes the pedicle (base of the antler/skull connection), or worse yet, traps the whole deer. If a deer does manage to get untangled, walking away with a pedicle injury at the very best damages the antler next year, and at the worst, it causes a brain abscess and death!
THINK LARGE NET, NOT HOOK AND BOBBER
Likely, you are reading these cell camera tips for shed hunting with one or two particular deer in mind. You will do anything to find their sheds, to walk away with at least some trophy or piece of the ones that got away this year. If by chance you do run cameras specifically for sheds, make sure you don’t whiff again! It seems like putting one camera out in his “core area” is about as far as late-season/offseason trail camera strategies go into acquiring intel on bucks and sheds. You’re making a mistake by employing this hook and bobber technique. You should in fact be employing a “large net” strategy to this task. Think of it almost as a preseason survey, or summer “find bucks” mentality…you want cameras on the edges of the property and in his core.
Bucks can and often times do pick up and move their summer and fall core areas and substitute them for a winter specific core. This will focus on quality human pressure free cover and a high quality food source. By casting a larger net with cell cameras and then backing off the property, you provide yourself insurance to catch this core, and enough data to tell you where and when to shed hunt. Combine this mentality with some of the tips below, and you have no doubt doubled your chance to find his sheds!
Use a Feeder In a state where it’s legal and for private property, a deer feeder is a great idea for taking inventory of bucks and it is worth its weight and cost for helping you shed hunt. Depending on deer populations, a 200+ pound feeder is recommended, and a 350+ pound is ideal. Why? You want a lot of feed to limit human pressure and make sure that there is enough feed to draw deer (and more importantly bucks) in until they drop antlers nearby or at least tell you when they have dropped for a full-fledged shed hunt. With the “large net” mentality, it would also help to center the feeder or feeders on your property, or place it with a strategy to attempt and dump a buck feeding on the feeder into a nearby known bedding area, such as a thicket, recently timbered south facing slope, or native grass patch. This will help ensure bucks will drop antlers near the feeder, on the nearby bedding, and at the very least on your property instead of the neighbors.
TIME SPENT IN A SHED-RICH ENVIRONMENT
While it might be the offseason, it doesn’t mean you might have more time to spend shed hunting. It might just be the case that you have procrastinated on chores, house projects, or other time-sucking initiatives during the hunting season, meaning your shed season might be short lived before spring green up. If you’re still in a position of having to find bucks or confirm their presence on a property, then cell cameras can tell you exactly where and when to spend your time. Typically, a property will be combed once, in one massive shed hunt that can take hours depending on the size of the property. Make sure that time or that full day is spent in a shed-rich environment. This is especially true if you are looking at multiple properties, public land, or several leases spread across different states.
FIND “NEW BUCK” SHEDS
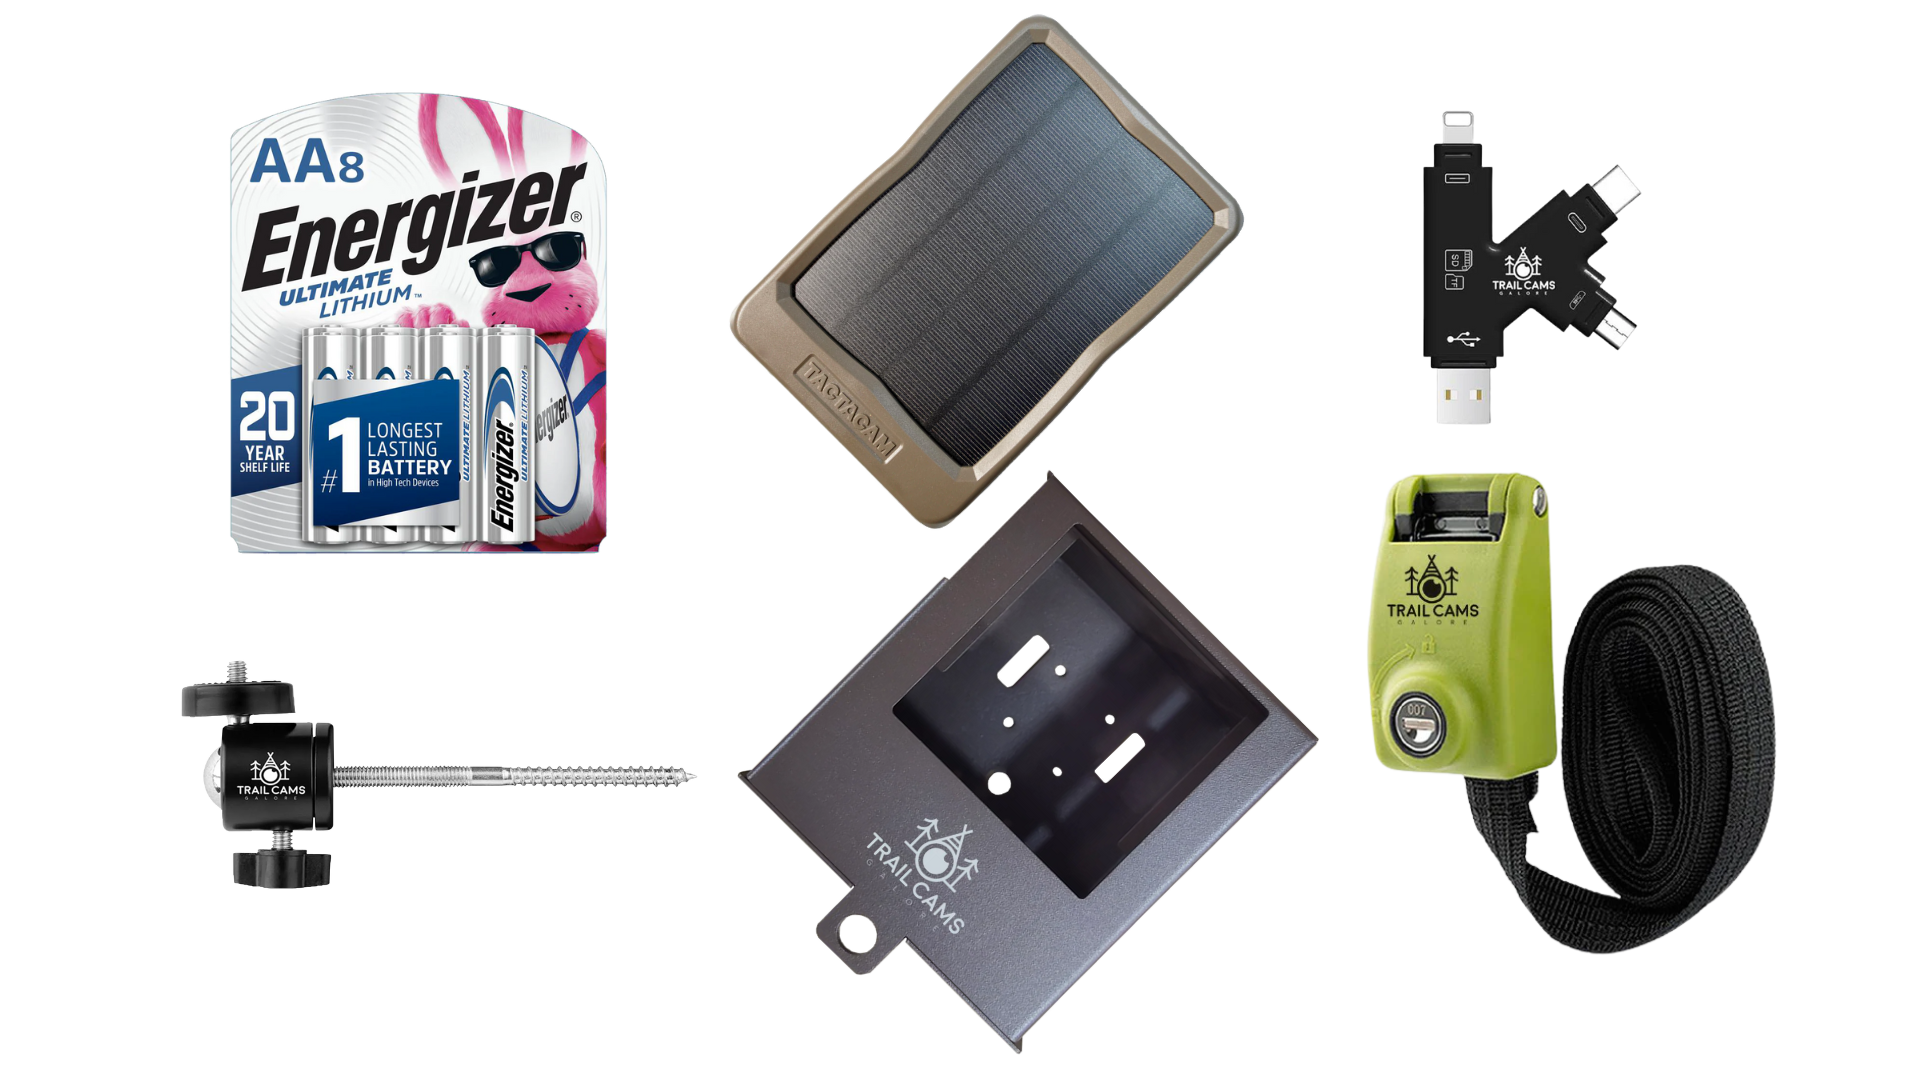
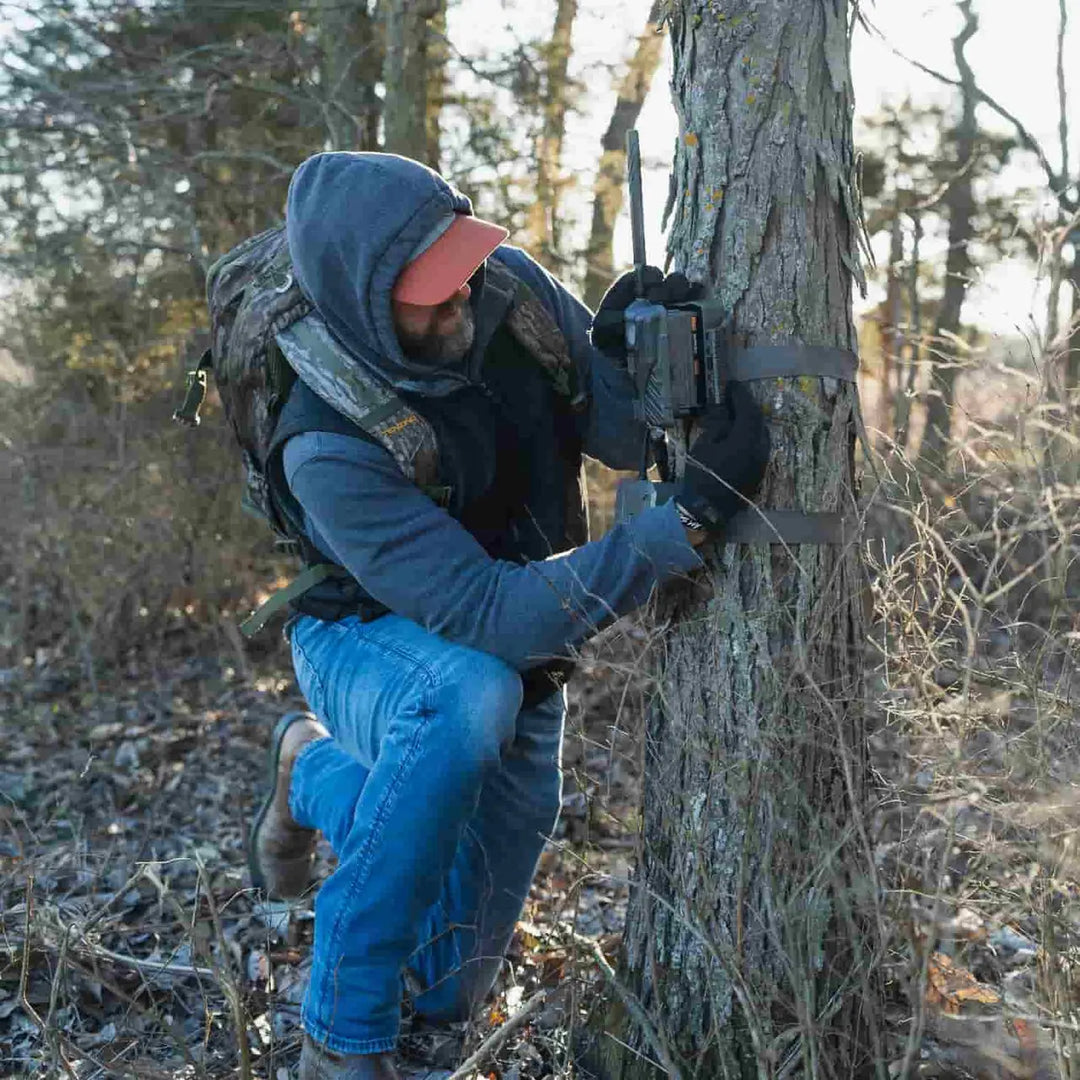
The offseason and winter is a perfect time to get cameras up in new spots…especially public land. If you have the cameras available, the opportunity is ripe for the picking. Scout new areas for late season sign, drop cameras, and you might end up with a new buck to target for shed hunting, and a new spot and target buck for next hunting season. The offseason typically means less foot traffic from a cell camera getting stolen standpoint, but just in case, still plan to lock most if not all your cameras with a security box and python cable.
USE A CELL CAMERA!
The secret sauce to all of this is to actually use a cell camera. The ability to receive the valuable intel from the cameras, telling you what bucks are around and when they drop antlers, is the key to finding their sheds. This allows you to do two things: keep disturbance to a minimum and ensure you shed hunt at the right time. This will ensure you will not bump the deer to a neighboring property on a full day/full property-wide shed hunt too early.
By using cell cameras and at least some of these tips, you are far more likely to stumble onto at least a few buck sheds. If you employ most of these tips, there is a lot better guarantee that sometime in late February to early March, you receive a Stealth Cam Command App notification of your target buck freshly shed out…telling you exactly where, and now you are able to finally go after them!


